

Downloading Endnote-X8
- Go to the UB mylicenses page: https://mylicenses.bridgeport.edu to download Endnote X8.

2. Click on Downloads at the Dock 
3. Click on ENDNOTE-X8.zip to open it 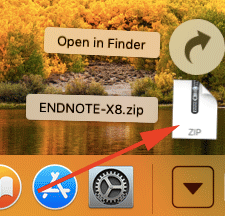
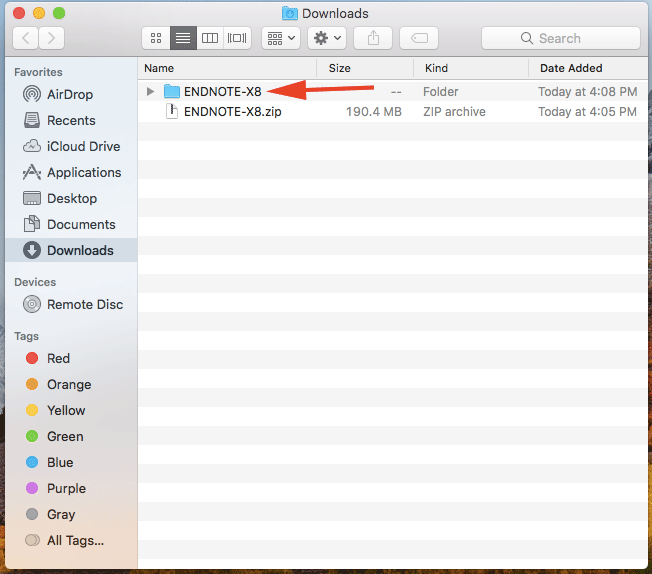
4. The zip file now has been extracted into a folder, the folder should automatically open. If not, to use Finder to open the folder, go through menu bar > Go (A) > Downloads (B) to open the Downloads (C) folder, then Double-Click the ENDNOTE-X8.zip to extract it. 
Installing and Activating Endnote-X8 for MacOS
Double-Click the Endnote-X8 folder twice to access the Mac and Windows installers.
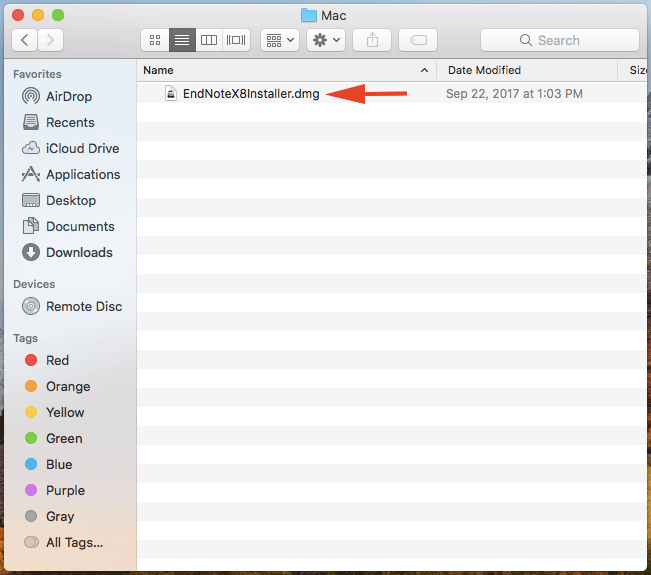
- Double-Click the Mac folder to open.

- Double-Click EndNoteX8Installer.dmg to begin the installation process.
- The installer will open. Double Click to begin installation.
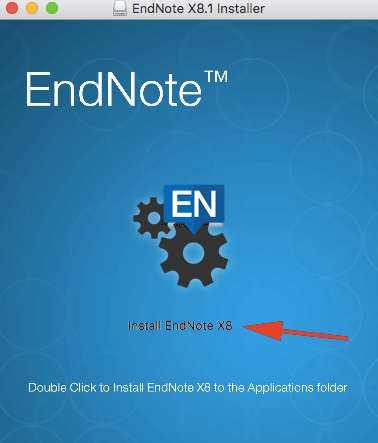
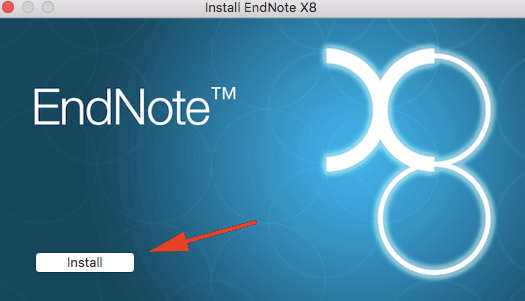
- Click on the Install button.
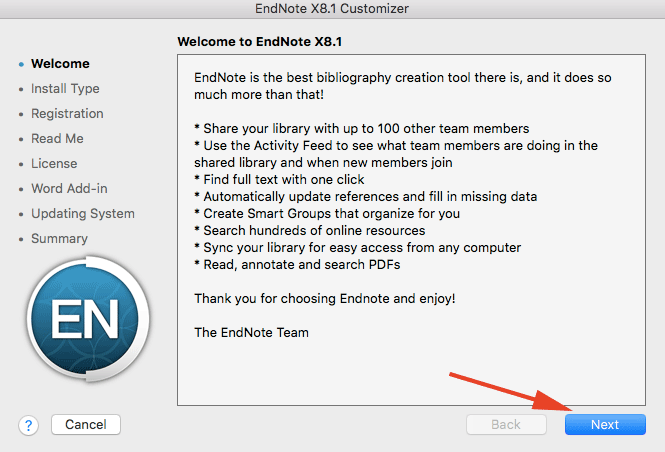
- When the Welcome Screen opens, click Next.
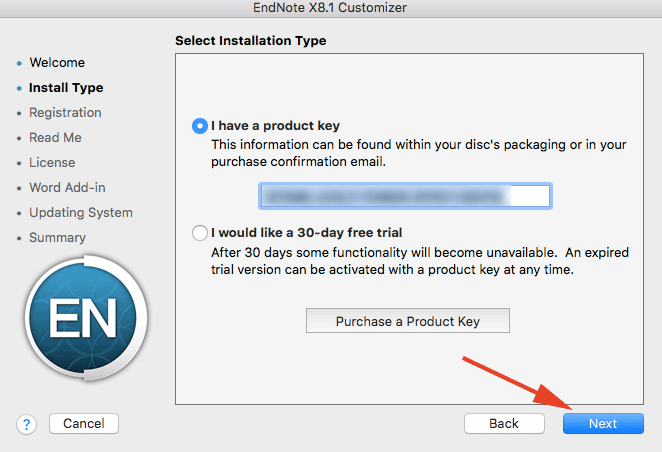
- Choose I have a product key.
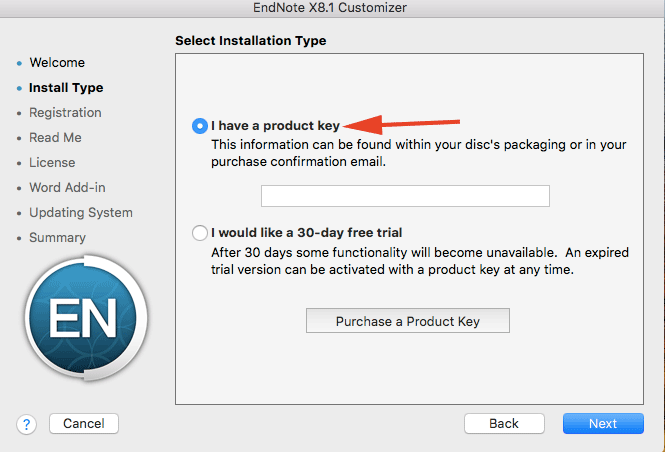
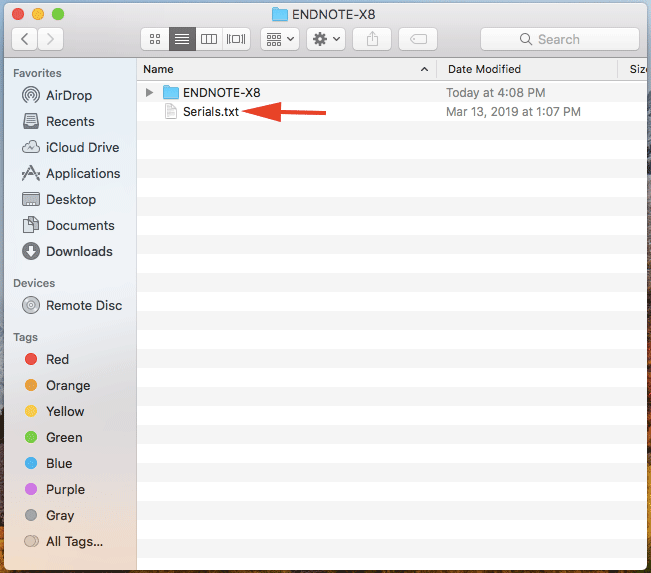
7. Navigate back to the ENDNOTE-X8 Folder on your computer and open the Serials text file. Copy the product key from the page and paste it onto the Select Installation screen and click Next.
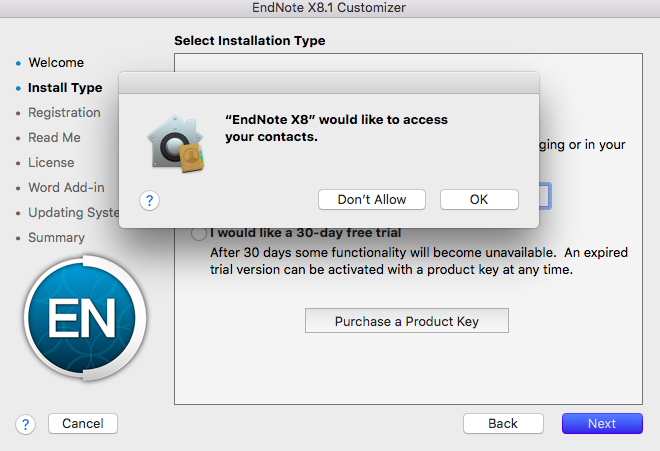
If any access request popups in the meanwhile, click on either OK or Don't Allow based on your preferences to continue the installation.
8. Enter your User Information and click Next.

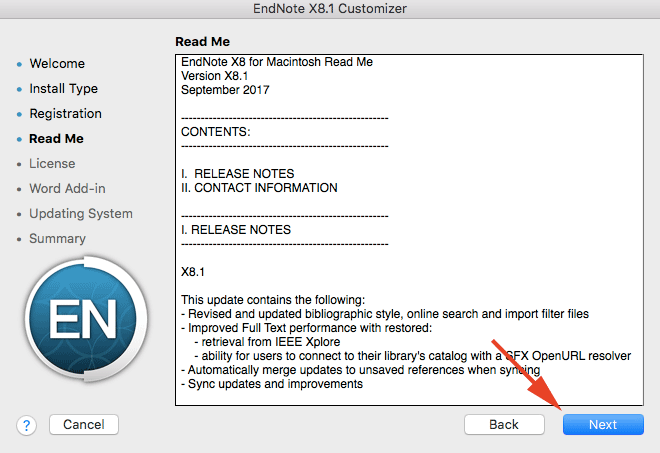
9. Read the Endnote information and then click Next.
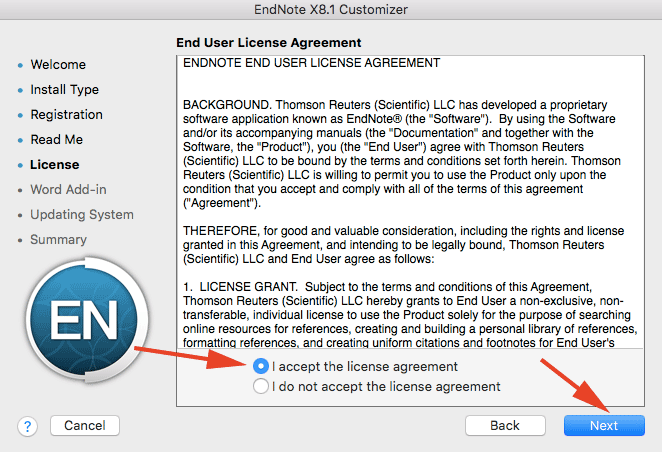
10. Read the License Agreement and click to select “I accept the license agreement” and then click Next.
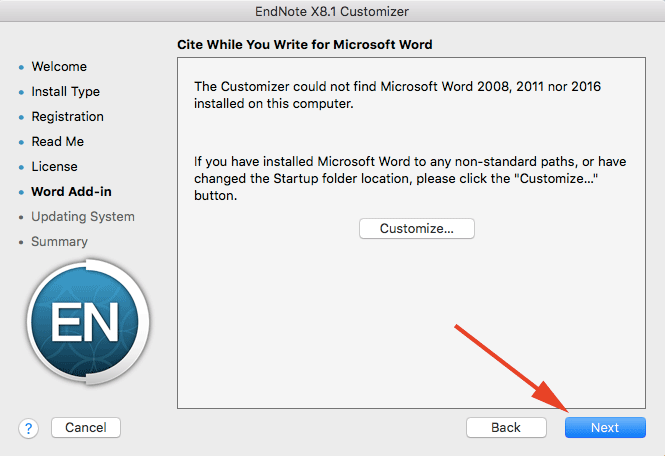
11. Click on Next if the Microsoft Word has been installed into the default path.
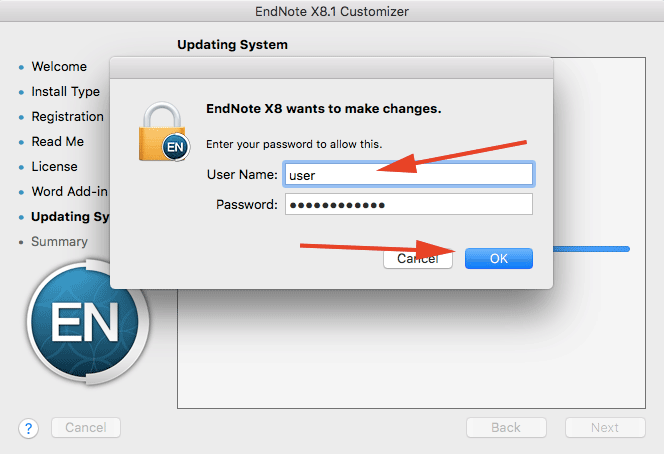
12. Enter your user name and password then click OK to install Endnote.
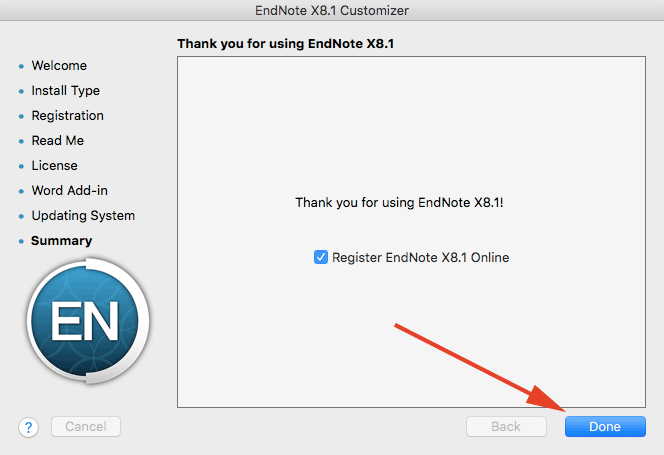
- When the installation is complete, click Done.
Endnote X8 may have updates available, however, the current license does not update beyond Endnote X8. You will now have endnote available on your computer. You will be able to access it in your Microsoft Word Documents.
